Learn · HVAC/R
Leak Detection
Part of HVAC Technician from Zero · step 41 of 49 · next: A Diagnostic Method That Works
In learning paths: HVAC Technician from Zero
Assumes you know: Refrigerant Recovery
Leak detection is finding where a system lost its refrigerant before you put more in. A leak is the only way charge leaves a sealed system, so “it was low” is not a diagnosis: it is the opening line of a search. The craft is in running that search methodically instead of spraying bubbles at random and hoping.
Why it matters on the job
Topping off a leaking system sells refrigerant, not repairs: the customer buys the same pounds again next season, plus the damage the low charge did in between. Refrigerant is expensive, venting it is illegal, and the A2L refrigerants now arriving add flammability to the stakes. Finding and fixing leaks is what separates service from refrigerant retail.
The search, from broad to fine
Start with evidence, not instruments. Where does oil stain the equipment? Refrigerant leaks carry oil, and an oily fuzz of dust at a joint, a valve, or a coil return bend is a leak announcing itself. Check the classic suspects: flare fittings, service valve caps and cores, braze joints, coil surfaces, and anywhere copper rubs against metal.
Electronic detectors sniff refrigerant directly. Move the probe slowly, about an inch per second, and check low around fittings: refrigerant vapors are heavier than air and drift downward. Work out of the wind, confirm every hit twice, and remember the detector tells you the neighborhood, not the address.
Bubble solution gives the address. Brushed or sprayed on a suspect joint, a real leak blows growing bubbles. Cheap, decisive on accessible joints, useless on a coil buried in a cabinet.
Nitrogen pressure testing is the tool for an empty or opened system, and the proof after any repair: recover any remaining refrigerant, pressurize with dry nitrogen, within the equipment’s rated test pressure, and watch a quality gauge over time. Nitrogen is cheap and inert, and it lets you search loudly: a big leak under nitrogen pressure is audible.
UV dye and isolation cover the stubborn cases. Dye circulates and glows at the escape point on a later visit. When a standing test says “somewhere in this system”, valving it into sections and testing each one corners the leak a piece at a time.
Worked example: a standing test that did not fail
A repaired system stands overnight under nitrogen at 150 psig, in an unconditioned garage at 75 °F. Morning reading: 144 psig, garage now at 55 °F. Leak?
Pressure tracks absolute temperature. Correct before judging, using absolute units, psia = psig + 14.7, and Rankine, °R = °F + 460:
- Expected pressure = starting psia × (new temperature ÷ old temperature)
- Starting: 150 + 14.7 = 164.7 psia. Temperatures: 75 °F = 535 °R, 55 °F = 515 °R.
- Expected = 164.7 × (515 ÷ 535) = 164.7 × 0.9626 = 158.5 psia = 143.8 psig
The gauge says 144 psig. The system did not leak; the garage cooled down. A tech without the correction opens a tight system, a tech with it signs off and sleeps. Had the morning reading been 130 psig, the 14 psi below the corrected expectation would be a real fail: back to the search.
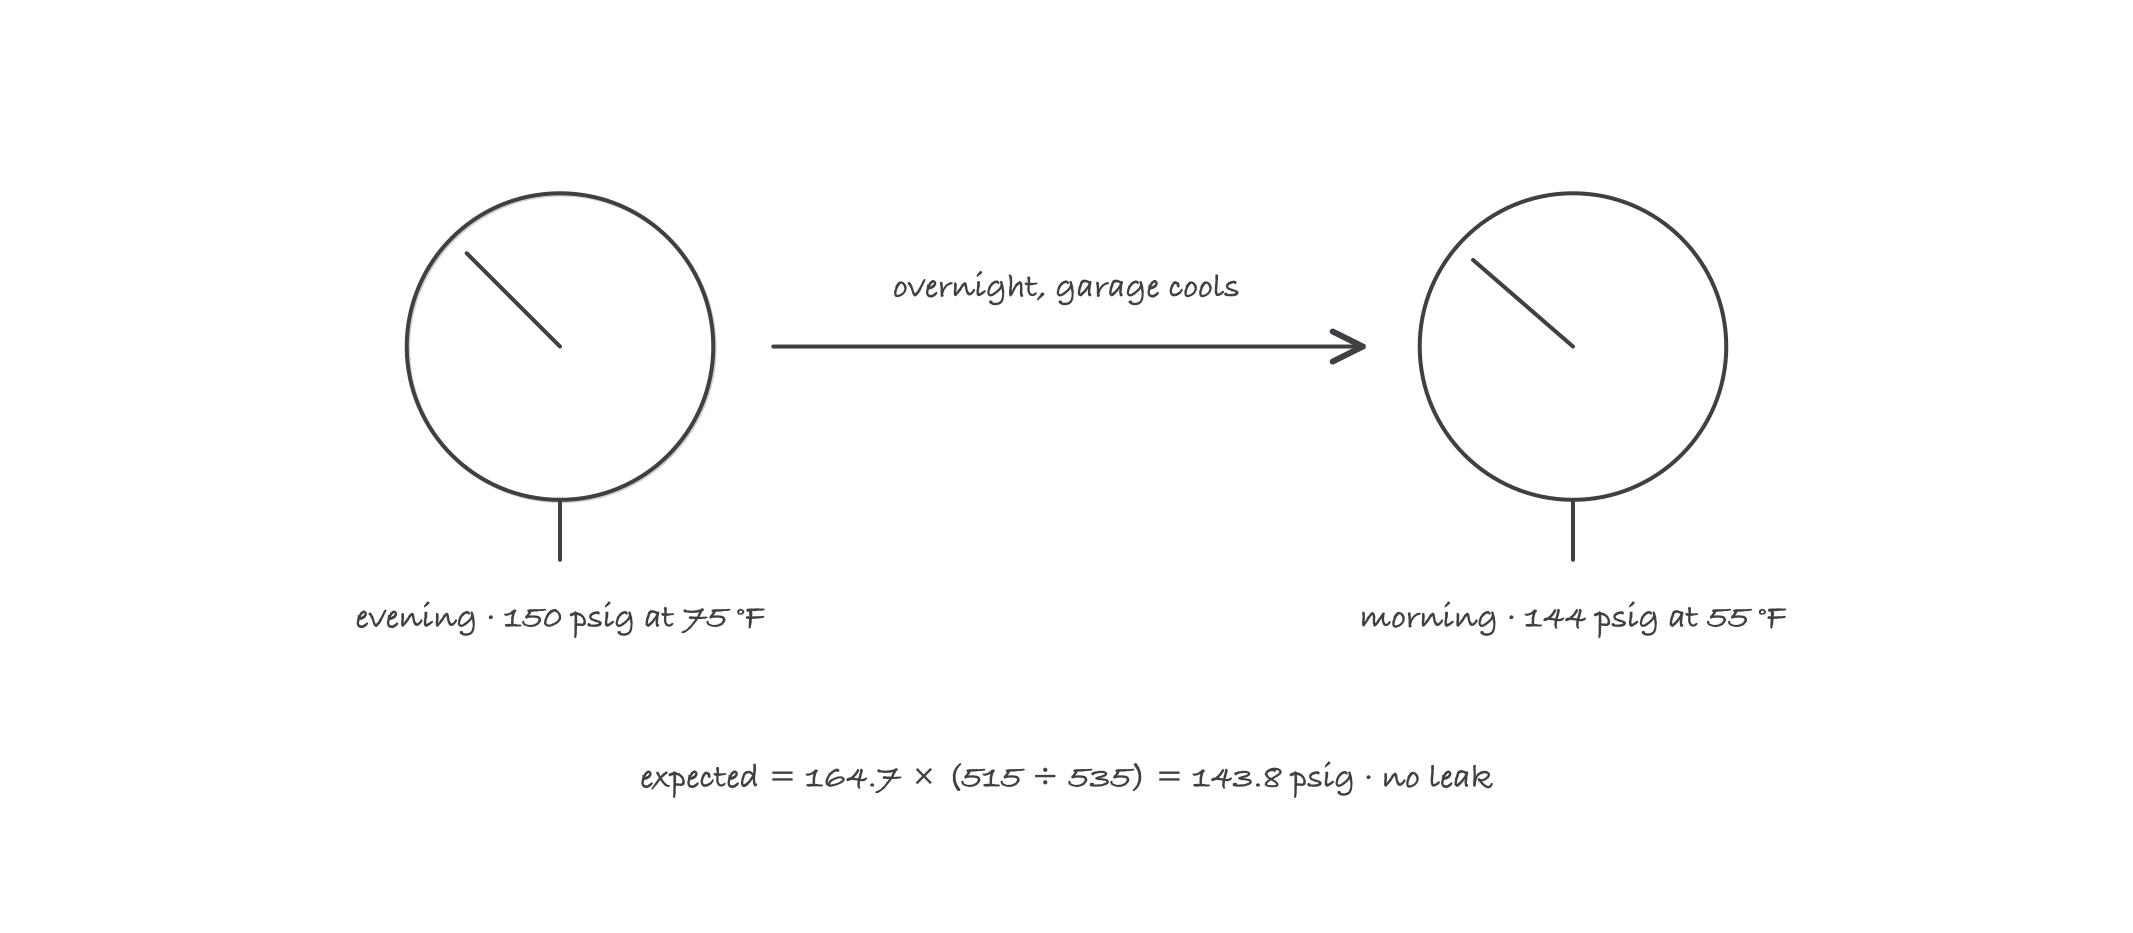
Cold gas reads lower: correct the expected pressure for temperature before calling a standing test a fail
Where it bites
- Never pressure test with oxygen or air, and never search with a flame on today’s systems. Oxygen over oil explodes; compressed air in a refrigerant circuit builds a combustible mix. Dry nitrogen only, through a regulator, respecting the nameplate test pressure. Halide torches belong to history; A2L refrigerants make open flame doubly wrong.
- The vacuum decay test is a leak alarm, not a leak locator. Evacuation and Vacuum tells you the system leaks; nitrogen and bubbles tell you where. Do not waste hours “watching microns” hoping for an address.
- One leak found is not every leak found. Vibration, corrosion or a bad braze batch rarely strike once. After any find, finish the survey, then prove the whole repair with a pressure test and a clean evacuation decay.
- Detectors lie in dirty air. Wind clears refrigerant before the sensor sees it; cleaners, adhesives and exhaust fool some sensors into false hits. Confirm electronically found leaks with bubbles whenever the joint is reachable.
- Some “leaks” are connections. Loose Schrader cores, uncapped ports and abandoned gauge sessions lose charge without a single failed joint. Check the service ports first: cheapest fix in the trade.