Learn · HVAC/R
A Diagnostic Method That Works
Part of HVAC Technician from Zero · step 42 of 49 · next: Diagnosing Airflow Problems
In learning paths: HVAC Technician from Zero
Assumes you know: Charging by Superheat and Subcooling, Control Board Diagnostics
A diagnostic method is a fixed order of moves you make on every call, regardless of the complaint: listen, look, measure, isolate, prove. Its power is that it does not depend on guessing right. Parts-swapping techs are sometimes lucky; method techs are consistently finished.
Why it matters on the job
Senior techs are not paid for knowing more parts. They are paid for finding the actual fault the first time, on equipment they have never seen, and for not creating the second failure while fixing the first. That reliability comes from a repeatable process, and every specialist lesson after this one, airflow, refrigerant circuit, electrical, is this method pointed at one subsystem.
The method
1. Listen. The customer owns history you cannot measure: when it started, what changed, who touched it last, whether it fails always or only on hot afternoons. Two minutes of questions routinely saves two hours of instruments. Then check the equipment’s own testimony: fault codes and board LEDs, read the way Control Board Diagnostics taught, before clearing anything.
2. Look, whole machine, before instruments. Filter, coils, belts, wiring condition, oil stains, ice, water where water should not be. Verify the complaint yourself: “no cooling” from a homeowner spans everything from a dead compressor to a closed register.
3. Measure against expectations. Numbers beat impressions, but only against a known healthy range: temperature split across the coil, static pressure, superheat and subcooling, volts and amps. You learned the healthy pictures in the fundamentals lessons; diagnosis is spotting which number left the picture.
4. Isolate. One hypothesis, one test that can prove it wrong, one change at a time. Change two things and the machine can no longer tell you which one mattered.
5. Prove. After the repair, re-measure the same numbers that were wrong and watch a full cycle. The complaint being gone right now is weather; the numbers back in range is a repair.
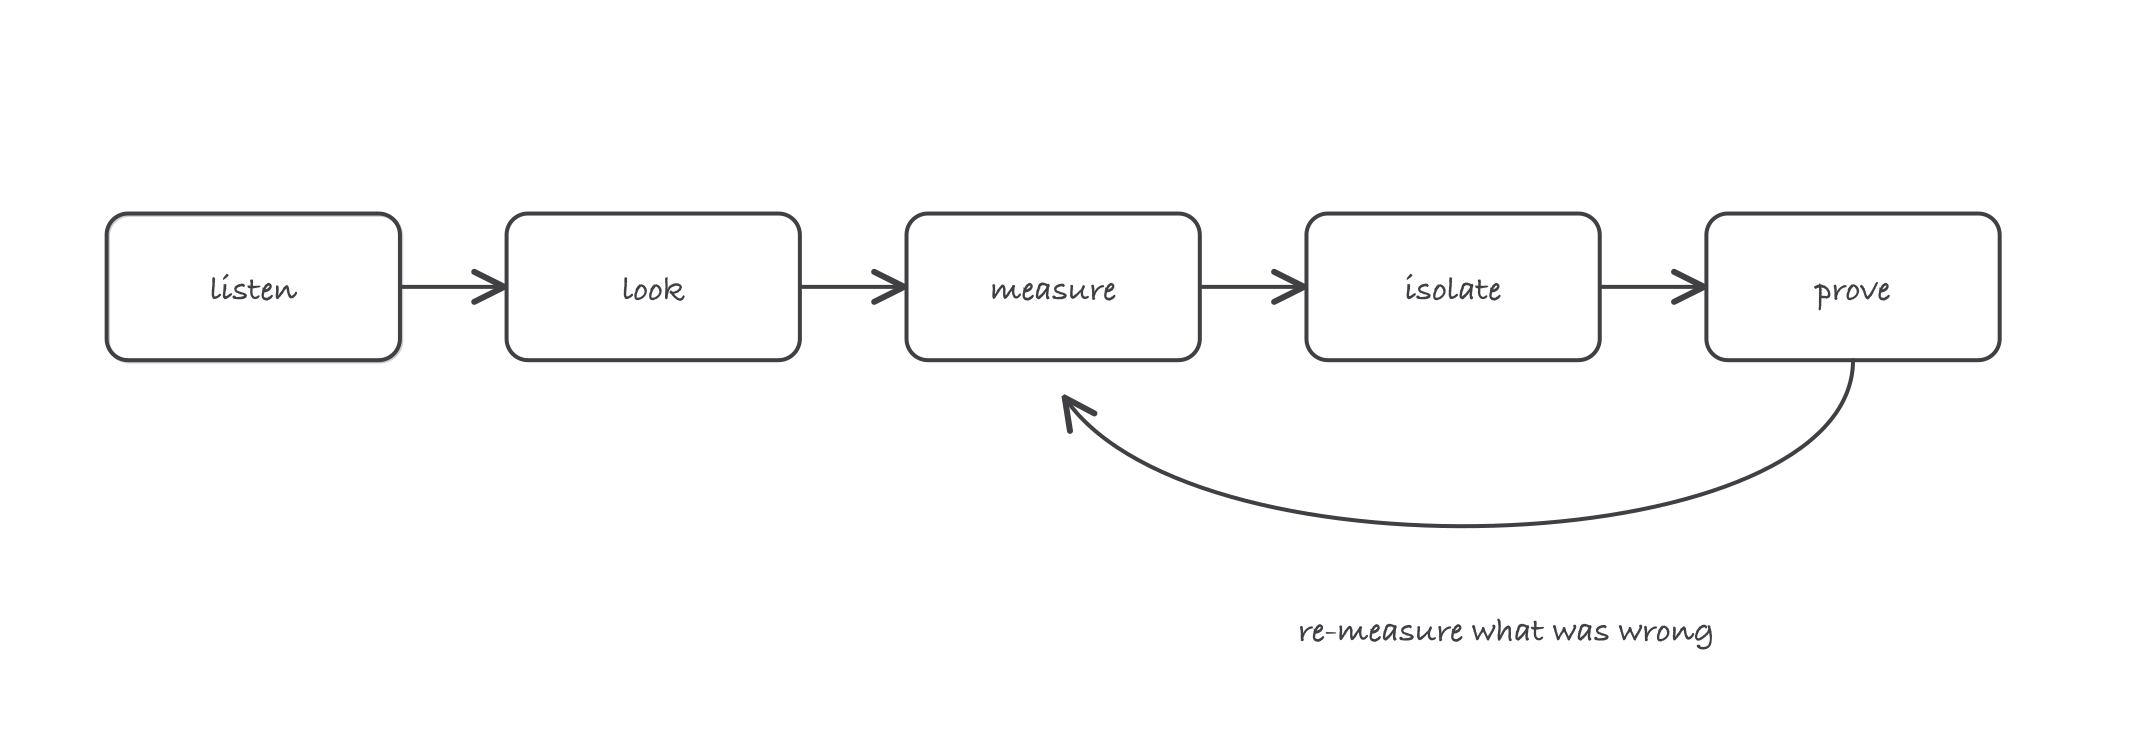
The same five moves on every call: the loop from prove back to measure is what makes it a method instead of a hunch
One ordering rule inside the method saves more misdiagnoses than any other: airflow before refrigerant. A starved coil imitates an undercharged one on the gauges, and Charging by Superheat and Subcooling warned you what happens when the imitation is believed.
Worked example: a no-cool that was not low on charge
Complaint: “AC barely cools since last week.” Method, in order:
- Listen: started gradually, no storms, filter last changed “sometime spring”. No fault codes.
- Look: filter visibly loaded. Indoor coil not visible without opening the cabinet, outdoor coil clean.
- Measure before touching: return 76 °F, supply 68 °F: split = 8 °F, far below the healthy split learned on Split System Air Conditioners. A tech going straight to gauges here would find low suction pressure and “confirm” low charge.
- Isolate: the airflow-before-refrigerant rule says test the airflow hypothesis first, it is a five-minute test. New filter in, run 15 minutes.
- Prove: split now 76 − 57 = 19 °F. The refrigerant circuit never had a problem, and not one fitting was cracked to “check the charge”.
The counterfactual is the lesson: gauges first would have read low suction, prompted “a little gas”, and built an overcharged system waiting behind a clean filter.
Where it bites
- The most expensive words in service are “while I’m here, it probably needs a pound”. Refrigerant is not a consumable; charge only moves on a diagnosed leak or a measured verdict. Guessed gas is how healthy systems get wrecked.
- Intermittent faults do not surrender to a one-time visit. A machine that fails only at 5 pm heat soak will pass every test at 9 am. Recreate the failing condition, block the condenser, run a long cycle, or instrument it and come back with data.
- Fault codes are witnesses, not verdicts. A pressure-trip code says the switch opened; it does not say why. Diagnose the condition behind the code, or you will clear it into a repeat call.
- Beware the second fault. Machines that have been “repaired” twice already often carry a new problem installed on top of the original one. When measurements contradict each other, ask what a previous wrench changed.
- Write the numbers down. Before-and-after readings on the ticket are your proof, the next tech’s baseline, and the difference between a professional record and “seemed fine when I left”.